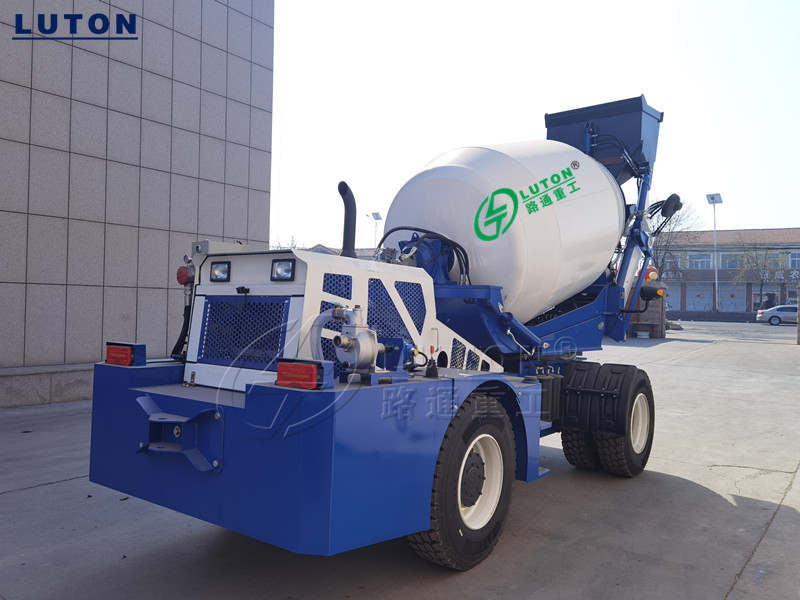
Operation steps of self loading concrete mixer truck is one of the most important things customers want to know exactly when they receive their equipment. With the operation video of LUTON self loading concrete mixer, we will do a quick introduction to you.
It should be reminded that although the quick operation guide can help you know how to operate a self loading concrete mixer truck, a product manual will provide more professional details. So before you go through the whole operation steps, do study the product manual carefully to get more safety details and precautions. Not only for the construction efficiency, but also for the service life of you self loading mixer truck.
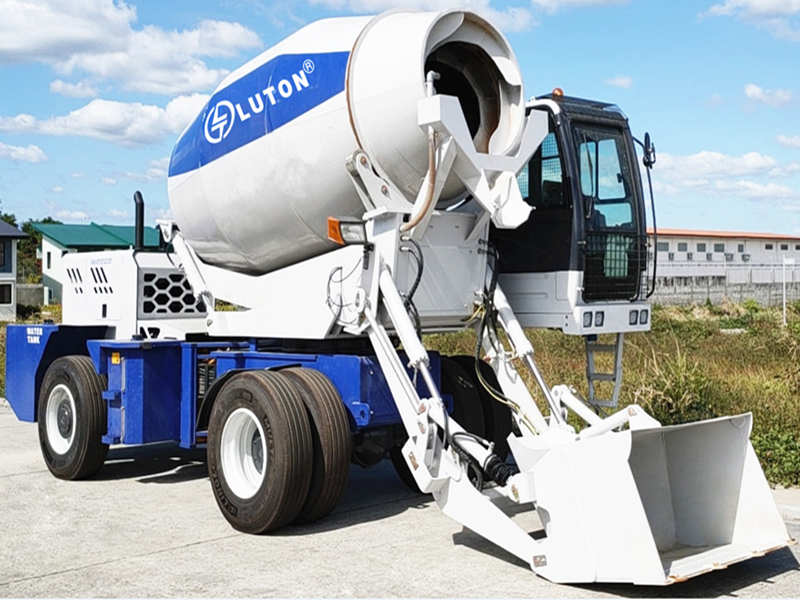
Operation Steps List Of Self Loading Concrete Mixer Truck
Now, let’s go through the operation steps.
1. Preparation Before Startup
- Check the water tank to ensure there is enough water. If there is not enough water, fill the tank with a water pump.
- Ensure the oil level of the diesel tank is normal.
- Ensure that the pressure gauge indication is normal.
- Check for tire damage and loose bolts.
- Confirm the water supply valve is open, the wash valve is closed. And the wash bucket vent switch is closed.
- Add lubricating oil to each needed part.
- Ensure that each control handle is in the middle position.
2. Start the engine and ensure all instruments are in good condition.
3. When the pressure gauge shows 4MPa and other instruments are normal, press the clutch pedal, shift to low gear, release the air brake and the self loading mixer truck will start working.
4. Push the control rod to the open position and turn on the mixing mode of the mixing drum.
5. Open the water supply controller to add water into the drum.
6. Open the electric scale controller and prepare for loading.
7. Push the bucket lifting arm control handle to lower the arm to the lowest position.
8. Continue to operate the arm control lever to complete the action of shovel materials, folding the bucket, and lifting the arm.
9. When the arm is lifted to the weighing position, the automatic weighing program is started. Go on lifting the arm until the bucket outlet aligns with the feeding port of the mixing drum.
10. Open the feeding port for unloading. After unloading finished, close the feeding port and get ready for the next material feeding.
11. During the feeding process, according to the reading on the scale display, when the accumulated weight exceeds the required weight, open the bucket door to unload the excess part, and then rise to the feeding port of the mixing drum for unloading.
12. The mixing drum rotates slowly during the feeding process. When the cement, sand and stone reach the specified weight, increase the mixing speed.
13. After mixing finished, discharge the concrete mixture to the required position.
14. According to the situation onsite, if necessary, connect the extended discharge chute to the outlet of the mixer drum.
15. Pull the control rod of the mixing tank to unloading position (mixing tank reversed), and the concrete mixture is unloaded to the very position needed.
16. Unloading finished, put away the extend unloading chute.
Congratulations! The whole working process is done! But this is not the end of the operation!
Cleaning Work After Daily Operation
After completing daily work, it is necessary to clean the mixing drum to prevent cement from drying and causing a decrease in the mixer drum capacity.
- Open the water valve, add water to the mixing drum.
- Rotate the mixing drum for a few minutes, and then discharge the water at high speed.
- Clean the outside of the self loading mixer truck thoroughly.
- Fix the extended discharge chute.
- Stop the mixer, apply the handbrake, then turn off the electronic scale, and turn off the engine.
Finally, this is the end of the operation of a self loading concrete mixer truck.
Export Cases Of LUTON Self Loading Concrete Mixer Truck
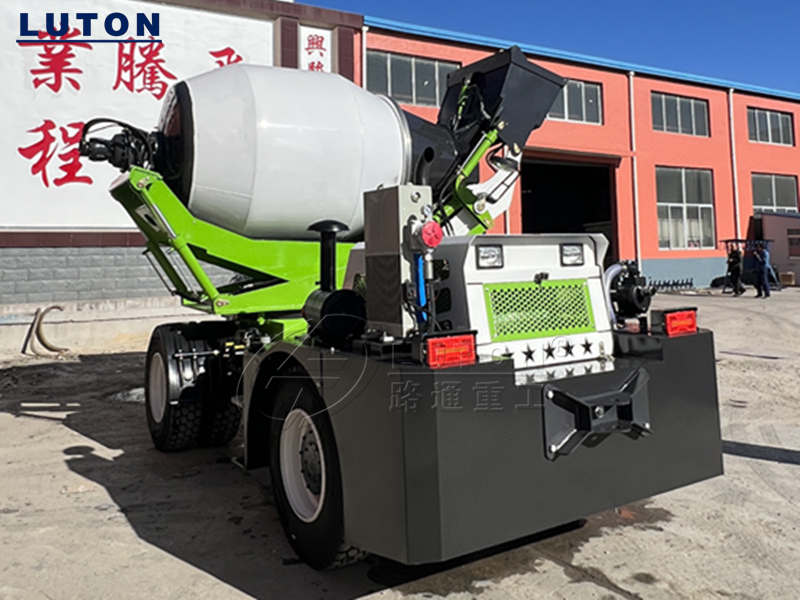
LT3.5 Self Loading Concrete Mixer Exported to Vanuatu
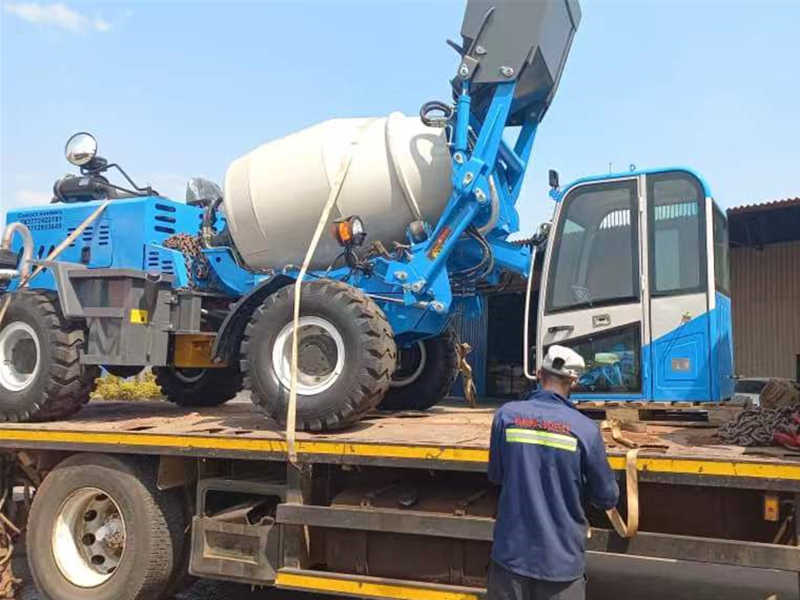
LT1.2 Self Loading Concrete Mixer in Zimbabwe
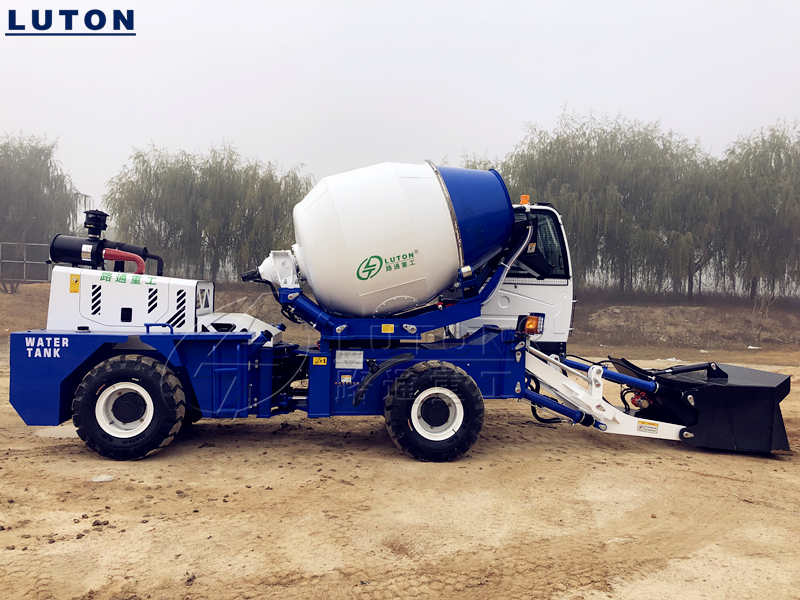
LT1.8 Self Loading Concrete Mixer Truck to Serbia
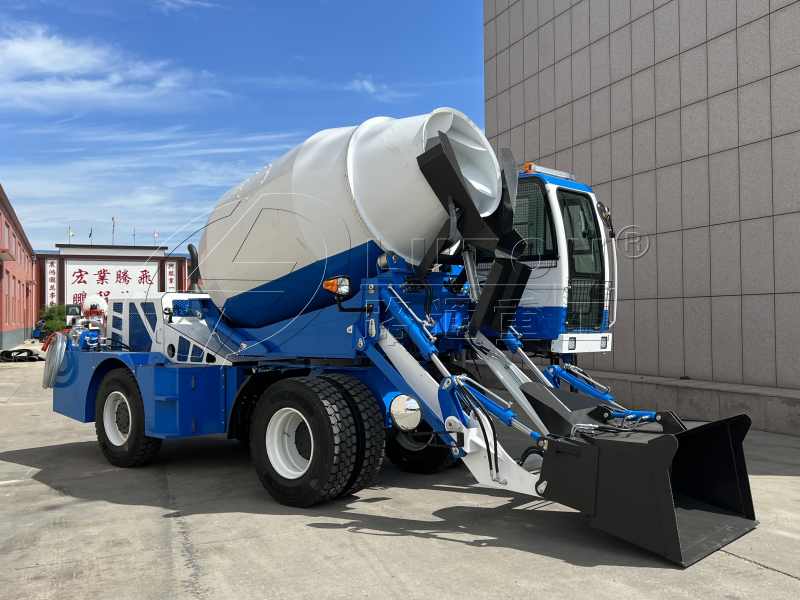
LT4.0 Self Loading Concrete Mixer Truck Sold In Cameroon
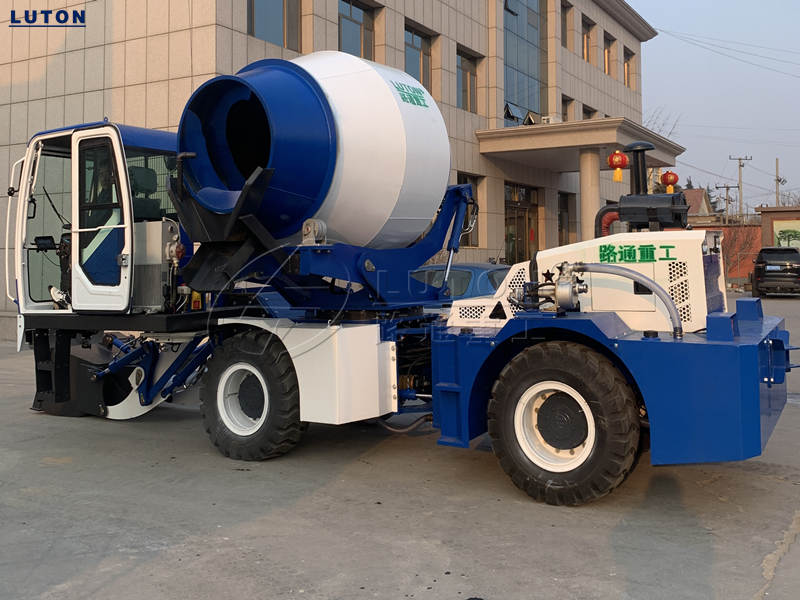
LT3.5 Self Loading Concrete Mixer Sold to Indonesia
